The Slap and Fold Technique: A Revolutionary Approach to Dough Handling
The slap and fold technique is more than just a kneading method—it's a revolutionary approach to working with high-hydration doughs that has transformed the way bakers and pizza makers handle wet, sticky dough. Developed as a solution to the challenges of working with doughs containing 70% or more water, this technique has become essential for anyone serious about creating authentic Neapolitan-style pizzas, ciabatta, and other high-hydration breads.
Unlike traditional kneading, which can be frustrating and messy with wet doughs, the slap and fold technique embraces the stickiness and uses it to your advantage. The rhythmic motion of slapping and folding not only develops gluten effectively but also incorporates air into the dough, creating the light, airy texture that characterizes the best artisanal breads and pizzas.
Why Slap and Fold Works: The Science Behind the Technique
Understanding why slap and fold is so effective requires a basic understanding of dough chemistry:
- Gluten Development: The slapping action creates mechanical stress that encourages gluten proteins to align and form a strong, elastic network. This network is essential for trapping gas bubbles and creating structure in the final product.
- Air Incorporation: Each slap and fold cycle introduces air into the dough, which becomes the foundation for the beautiful air pockets and open crumb structure that characterize high-quality bread and pizza.
- Temperature Control: The technique allows for better temperature management than machine kneading, preventing the dough from overheating and maintaining optimal fermentation conditions.
- Water Management: Unlike traditional kneading, which can cause water to separate from the dough, slap and fold keeps the water properly integrated while developing structure.
When to Use Slap and Fold
Slap and fold is particularly effective for specific types of dough and situations:
- High-Hydration Doughs (70%+): This is the primary application. Doughs with high water content are too sticky for traditional kneading but perfect for slap and fold.
- Neapolitan Pizza Dough: Authentic Neapolitan pizza requires 60-65% hydration, which can be challenging to handle without proper technique.
- Ciabatta and Artisan Breads: These breads rely on high hydration for their characteristic open crumb structure.
- Sourdough Breads: Many sourdough recipes use high hydration levels that benefit from slap and fold.
- When You Don't Have a Mixer: Slap and fold is an excellent alternative to expensive stand mixers and can often produce superior results.
Mastering the Technique: Step-by-Step Guide
Preparation: Setting Up for Success
Before you begin, ensure you have the right setup. You'll need a clean, smooth work surface—granite or marble is ideal, but any clean, non-porous surface will work. The surface should be slightly damp but not wet. Have a bench scraper nearby to help gather dough if needed.
Step 1: Initial Dough Preparation
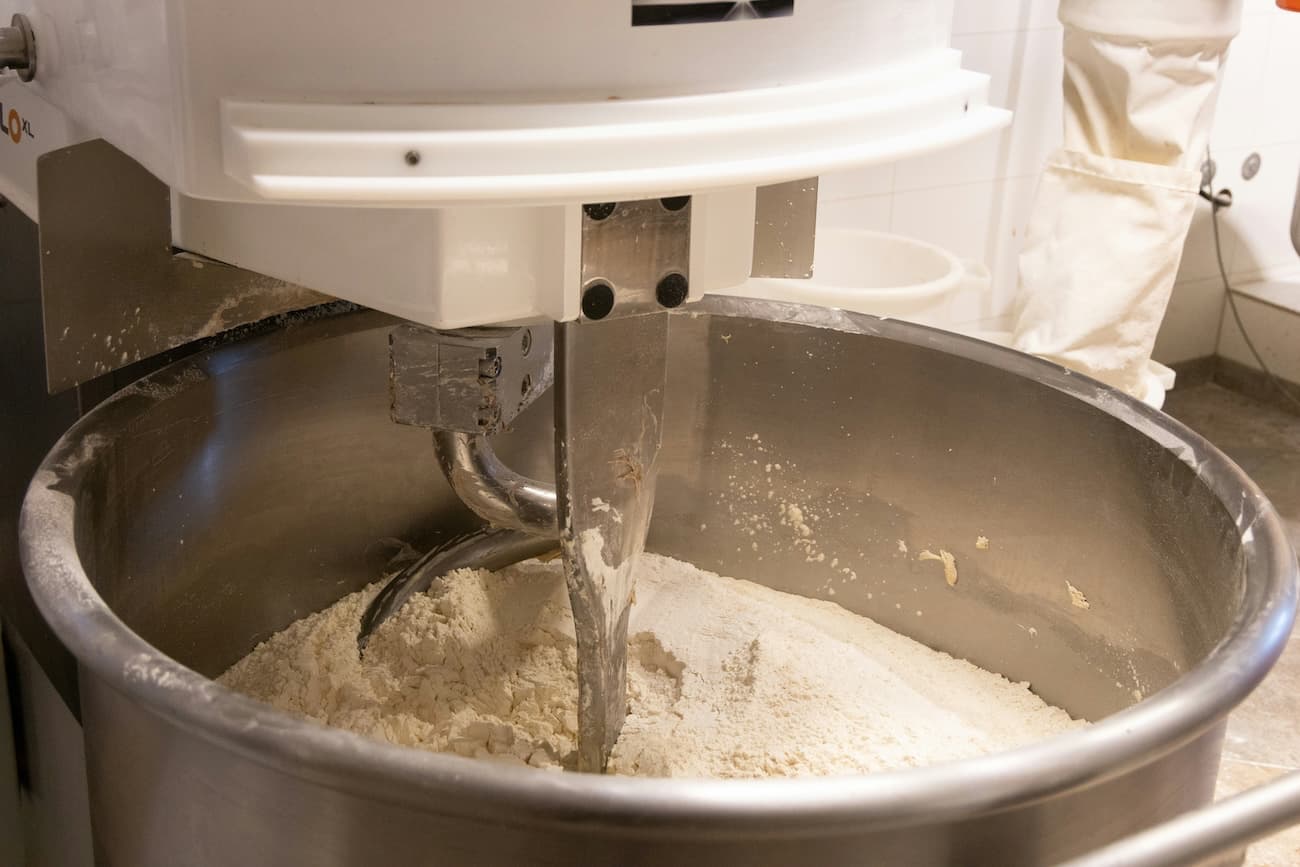
Start with a well-mixed dough that has rested for 20-30 minutes after initial mixing. This rest period, called autolyse, allows the flour to fully hydrate and gluten to begin developing naturally. The dough should be cohesive but still quite sticky.
Step 2: The Slap
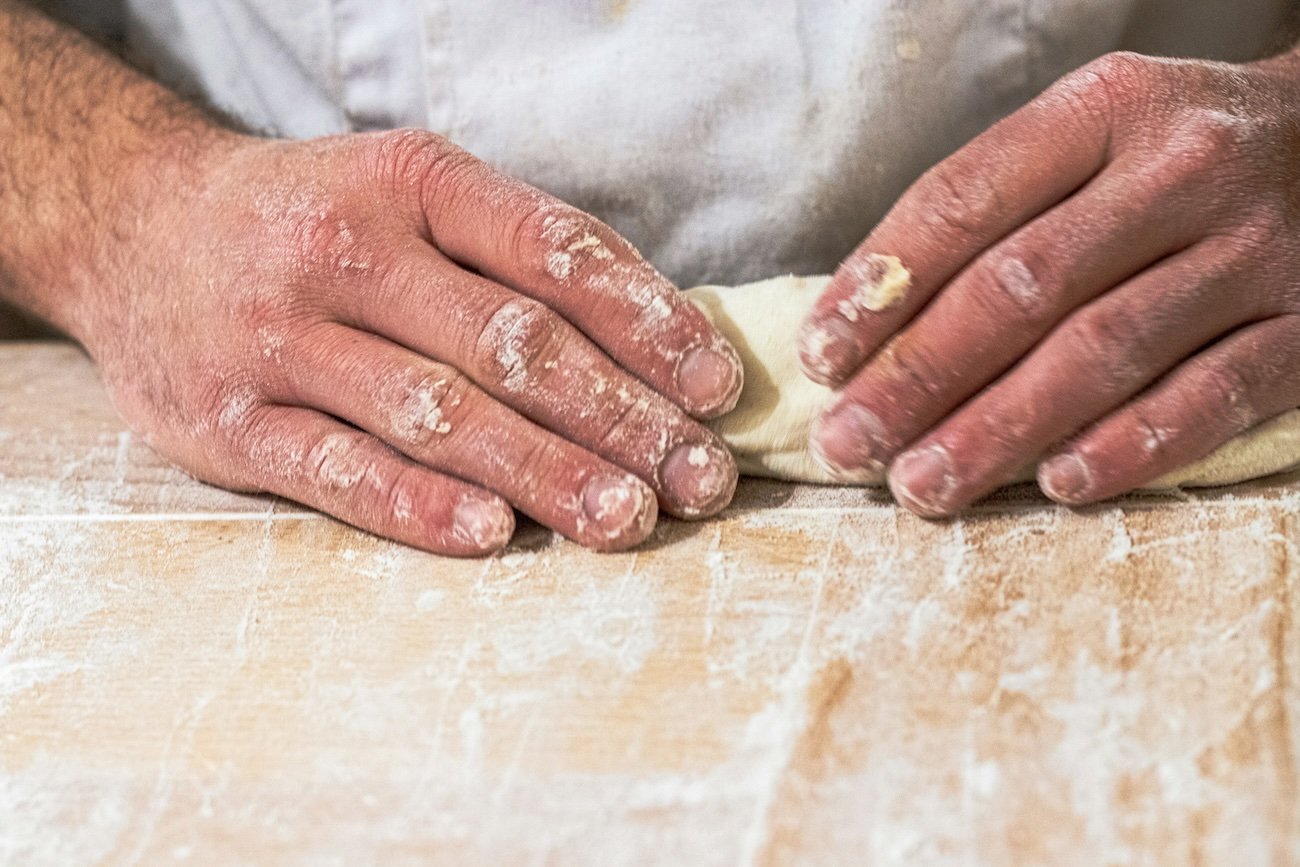
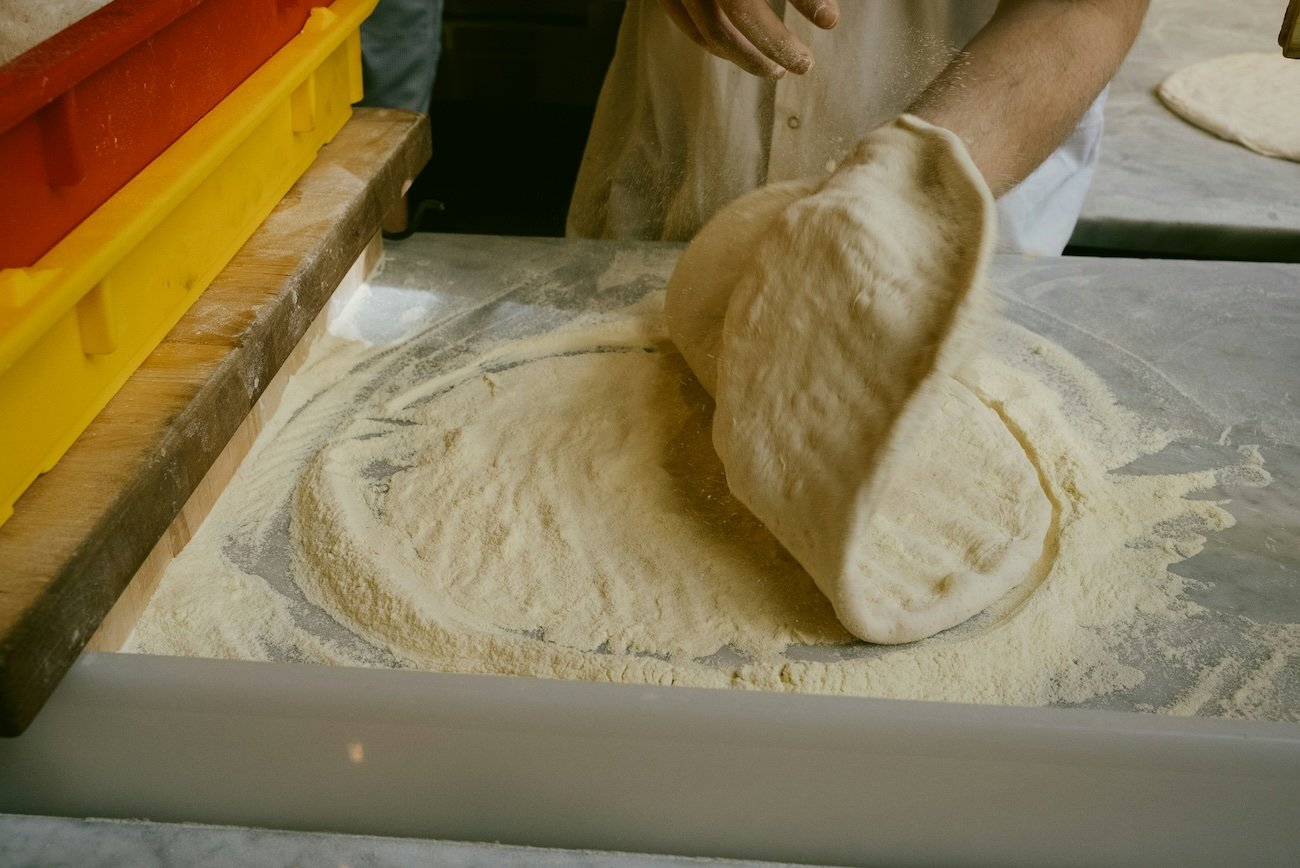
Pick up the dough with both hands, supporting it from underneath. With a confident motion, slap the dough down onto the work surface. The impact should be firm but not violent—you want to hear a satisfying "slap" sound. This action stretches the dough and begins developing the gluten network.
Step 3: The Fold
Immediately after the slap, fold the dough over itself. You can fold it in half lengthwise or create a more complex fold by bringing the edges toward the center. The fold creates layers in the dough, building structure and strength.
Step 4: The Rhythm
Establish a steady rhythm: slap, fold, rotate the dough 90 degrees, repeat. The rotation ensures even development and prevents the dough from becoming lopsided. Continue this motion for 5-10 minutes, or until the dough becomes smooth and elastic.
Advanced Slap and Fold Variations
Once you've mastered the basic technique, you can explore variations that suit different dough types and personal preferences:
- The French Fold: Instead of folding the dough in half, stretch it out and fold the top third down, then the bottom third up, creating a letter fold. This creates more layers and is excellent for very wet doughs.
- The Coil Fold: Lift the dough from the center and let it fold under itself, creating a coil-like structure. This is gentler and works well for delicate sourdough starters.
- The Stretch and Fold: A gentler variation where you stretch the dough out on the surface and fold it over itself without the slapping action. This is good for maintaining structure during bulk fermentation.
Reading Your Dough: Signs of Success
As you work with slap and fold, you'll learn to read the signs that indicate proper development:
- Sound: The slap should make a satisfying, resonant sound. If it sounds dull or wet, the dough may be too wet or not developed enough.
- Texture: The dough should become progressively smoother and less sticky as you work it. It should feel elastic and springy when you touch it.
- Windowpane Test: After 5-10 minutes of slap and fold, you should be able to stretch a small piece of dough thin enough to see light through it without it tearing. This indicates proper gluten development.
- Temperature: The dough should feel slightly warm from the mechanical action but not hot. If it becomes too warm, let it rest for a few minutes before continuing.
Common Mistakes and How to Avoid Them
Even experienced bakers can make mistakes with slap and fold. Here are the most common issues and how to prevent them:
- Overworking the Dough: It's possible to over-develop gluten, making the dough tough and difficult to shape. Stop when the dough is smooth and elastic, not when it becomes stiff.
- Inconsistent Motion: Maintain a steady rhythm and consistent force. Erratic slapping can create uneven development.
- Ignoring Temperature: If the dough becomes too warm, it can become sticky and difficult to handle. Take breaks if needed and work in a cool environment.
- Rushing the Process: Slap and fold takes time. Don't try to speed through it—the technique requires patience and attention to detail.
Integrating Slap and Fold into Your Workflow
Slap and fold works best as part of a comprehensive dough development strategy:
- After Autolyse: Perform slap and fold after the initial 20-30 minute rest period, when the flour has fully hydrated but before adding salt and yeast.
- During Bulk Fermentation: Use gentler stretch and fold techniques during bulk fermentation to maintain structure without overworking the dough.
- Before Shaping: A brief session of slap and fold before final shaping can help strengthen the dough and improve oven spring.
The Art and Science of Mastery
Slap and fold is both an art and a science. The science provides the foundation—understanding gluten development, hydration levels, and fermentation—while the art comes from developing a feel for the dough and finding your own rhythm.
With practice, you'll develop an intuitive understanding of when the dough is ready, how much force to apply, and how to adapt the technique to different recipes and conditions. The result will be dough that's not just manageable but exceptional—dough that produces pizzas and breads with the kind of texture, flavor, and character that makes all the effort worthwhile.